Profiles allow one instance of Raiser’s Edge to be used by multiple groups of Mailchimp users. There are two different ways in which Profiles could be used. The first way is it allows you to link one instance of RE with more than one Mailchimp account. The second way is it could be used by two groups using the same instance of RE and the same Mailchimp account but each have different setting requirements.
Managing Profiles
Access the manage profile area from the Z logo ‘about’ box as shown below:
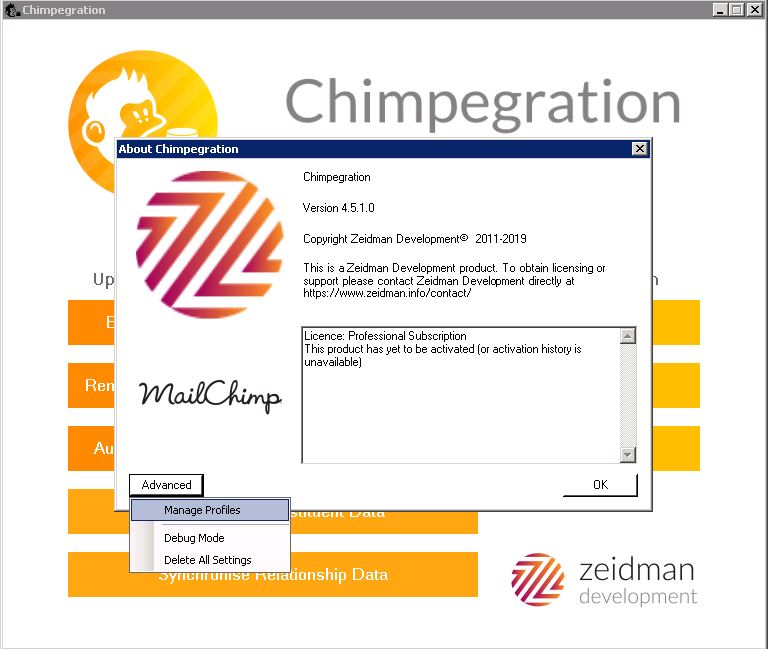
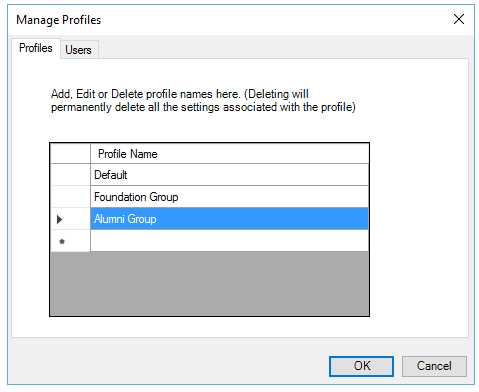
When you bring this up for the first time there will be a default profile but you are able to add new profiles to the application as shown below. As long as a profile has not been assigned to a user it is also possible to change the name of the profile so that if you do not want to use “default” you are able to change it.
The second tab allows you to assign one or more profiles to a user. You do not need to restrict the profiles by user. In which case all users will have access to all profiles.
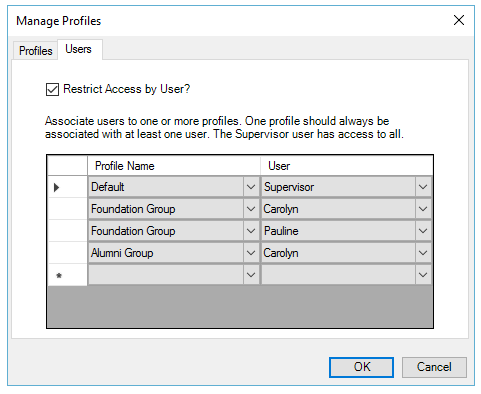
From the dropdowns select the profile name and the user to assign to that profile. There should be at least one user assigned to each profile but multiple users can be assigned too. Once you have created your profiles, you will need to restart Chimpegration.
Selecting a Profile
On starting up Chimpegration, if the profiles are not restricted or if a user has access to more than one profile then they will need to select from the dropdown shown below:
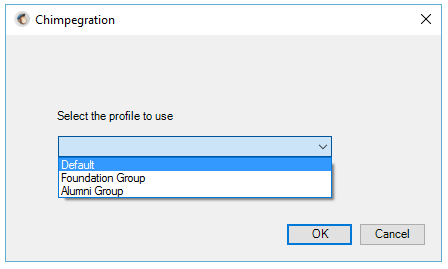
If you have not enabled profiles or a user only has access to one profile then they will simply connect directly to that profile and bypass the above screen.
If a user has access to multiple profiles and has selected one of them, in Chimpegration they will see a label showing them which they are currently working with.
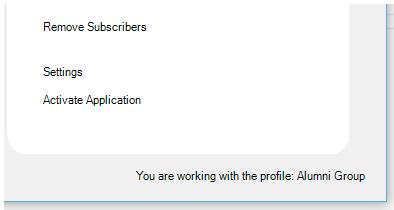
Each profile has unique settings so that they can be configured differently to the others if need be.
Still got questions? Visit our Knowledge Base to learn more.
