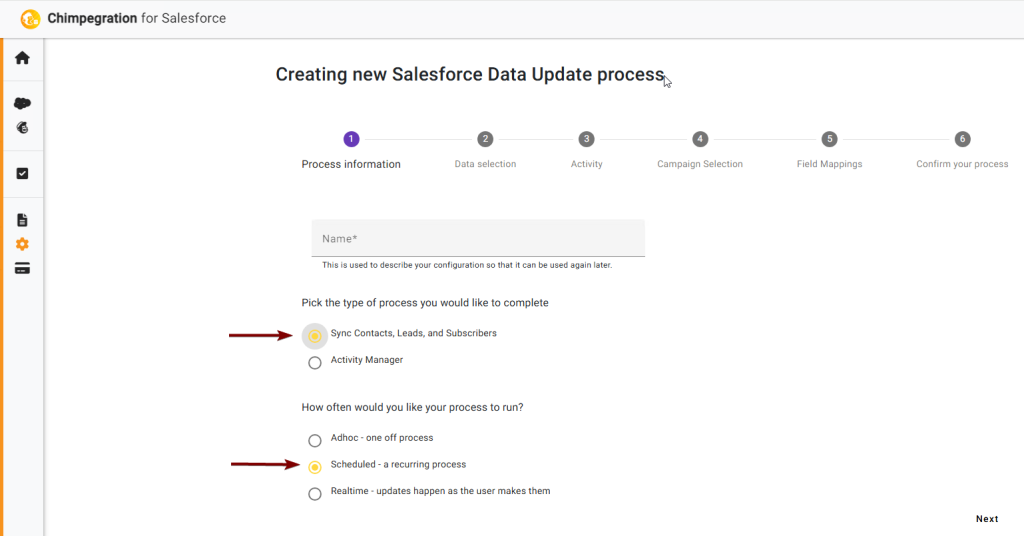
Give your process a name, select ‘Sync Contacts, Leads and Subscribers’, then choose ‘Scheduled – a recurring process’
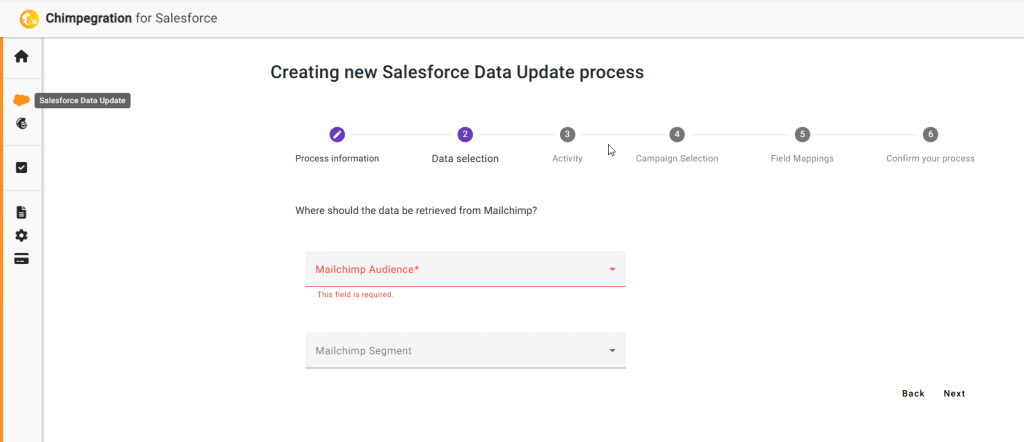
Data Retrieval
Select which audience to pull changes from. Mailchimp audiences will populate the dropdown. If you want to select a particular segment from your Audience, use the second dropdown option
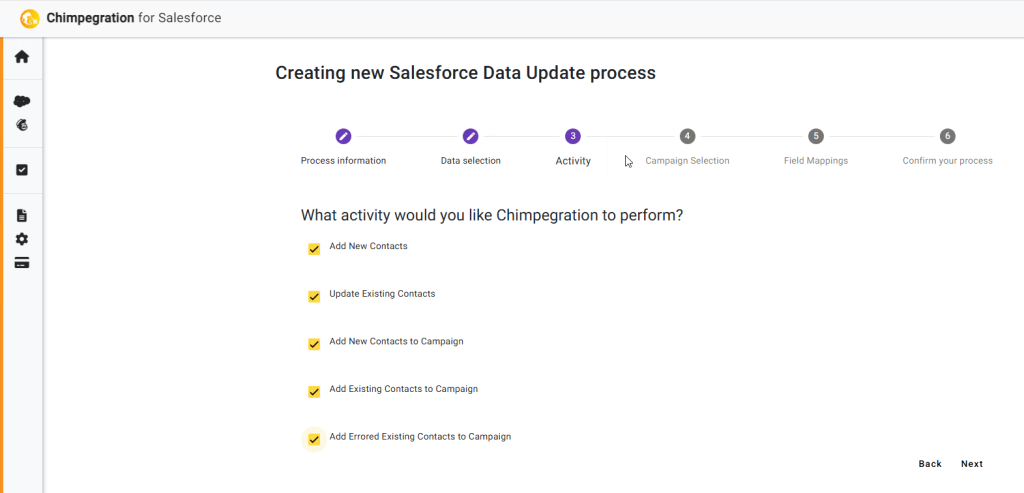
Activity
Select which Activity you would like Chimpegration to Perform
Campaign Selection
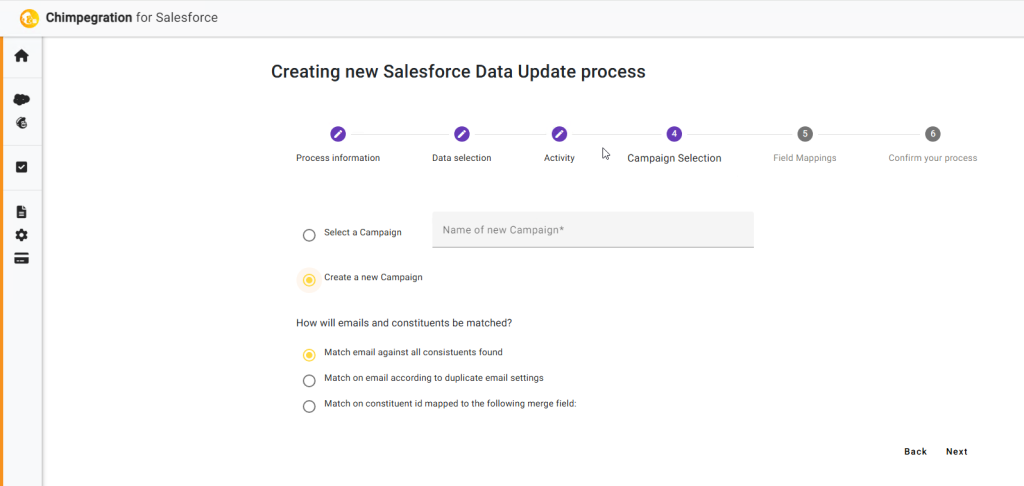
Select a Salesforce Campaign or create a new Salesforce Campaign then Choose how records should be matched:
- ‘Match against all constituents found’; so if this email is shared by two or more constituents in your CRM the changes will be imported to all records containing this email address
- Match on email according to duplicate email settings; if you have defined a ‘main contact’ for an email address in the configuration this record will be updated
- ‘Match on constituent id mapped to the following merge field’; select the Mailchimp field from the drop-down containing your ConsID, this is obviously the most accurate way of matching records
If a record is not found by the ContactID (e.g. new sign ups) they will be looked up by email address, if a match is found that record will be updated. If no match is found a new record will be created and the new Contact ID written back to Mailchimp.
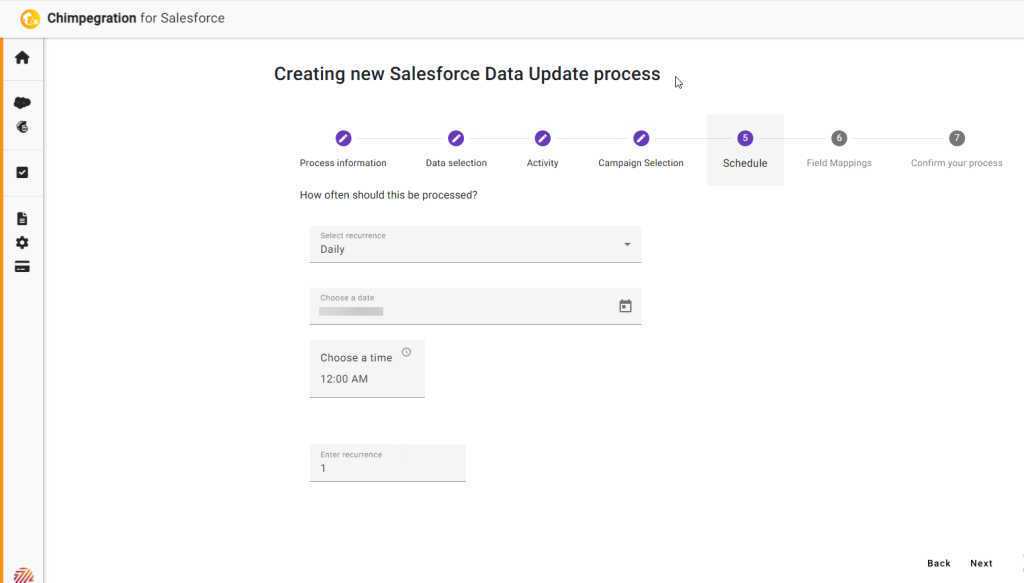
Schedule
Select how often the process should re occur
Field Mapping
Here you can map your Mailchimp merge fields to the appropriate place in your CRM. In order to reduce the number of fields you see in the dropdown we have grouped the CRM fields into categories, you will need to select the area the field you require is in to see the options in the field dropdown.
If you do not wish to import certain Mailchimp fields simply ignore them in your mapping.
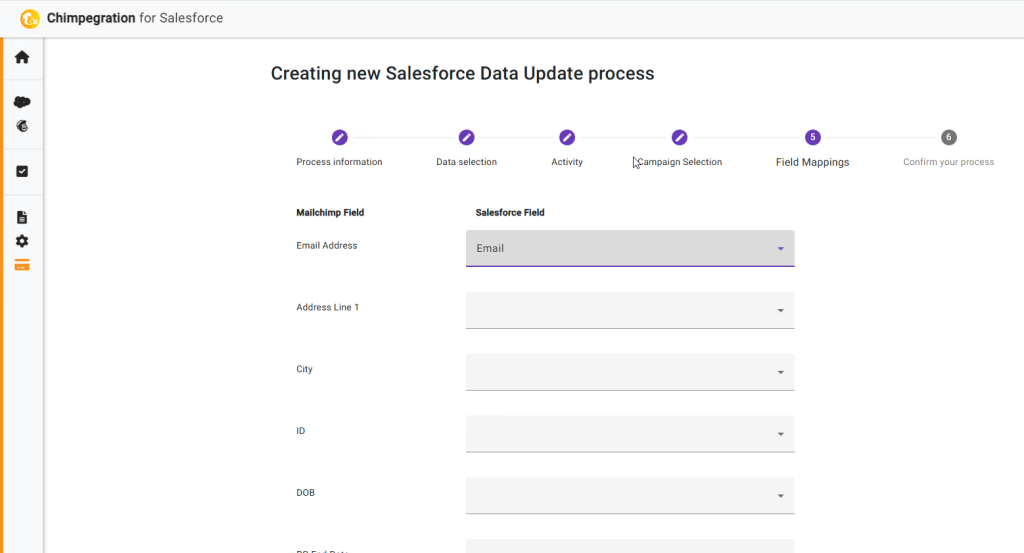
The Contact ID field must be matched to the appropriate Mailchimp field (at the bottom of the screen) in order for the import to proceed.

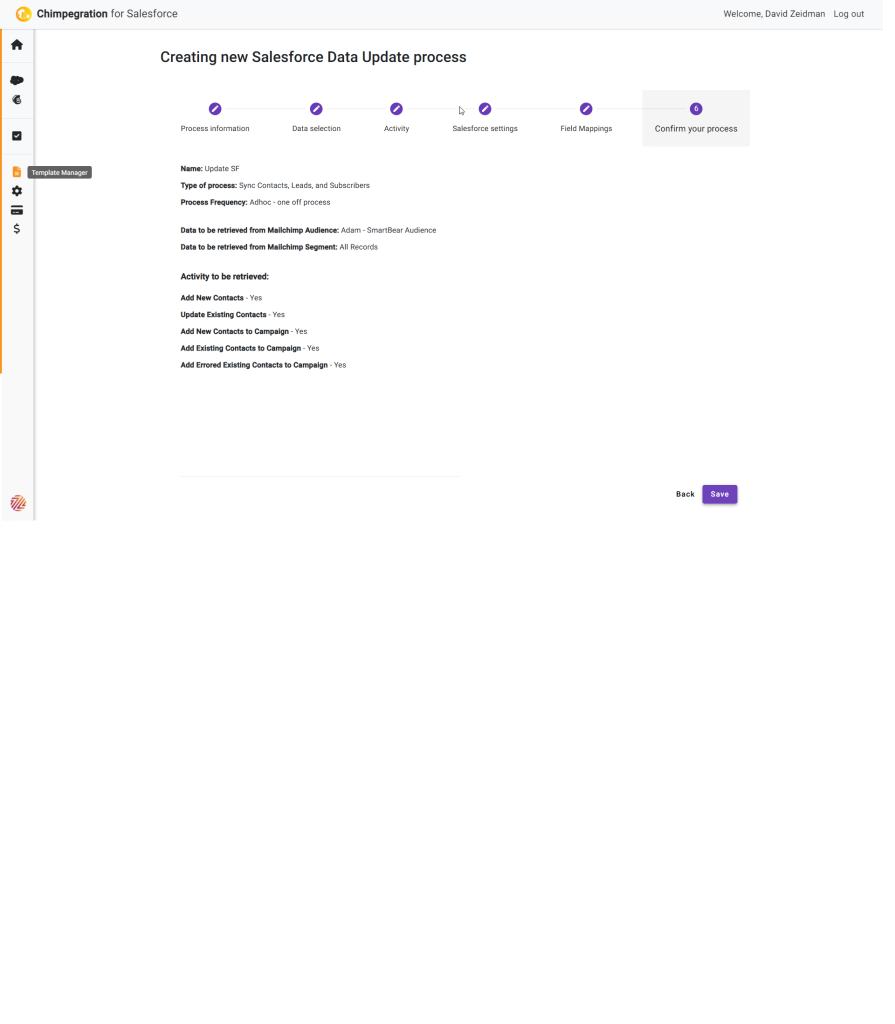
Review your process and click ‘save’ to start
